News
Brown Cupcake Liners / Brown Baking Cups – what sizes do they come in?

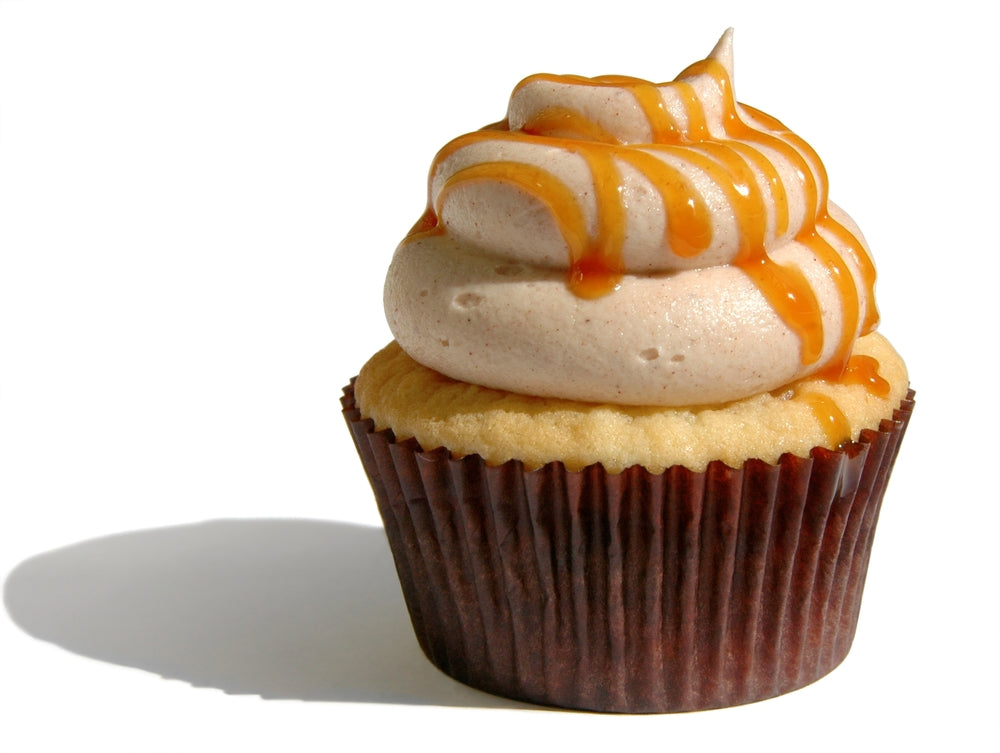
Brown cupcake liners are one of our customers favorites. So we thought we’d share some details on our brown greaseproof cupcake liners and the differences in sizes. We carry them in 3 different base sizes: Mini Base, Standard Base, Jumbo Base MINI: The dimensions of our mini brown cupcake liners are: base:1 1 /2″ and height: 1″. The mini brown cupcake liners require a mini muffin pan. They are perfect for mini desserts. STANDARD: The standard brown cupcake liners all have a base of 2″ and come in 3 different heights: 2″x 1 1/4″ (aka “Std”) – these are the...
Tulip Baking Cups - What size should I purchase?

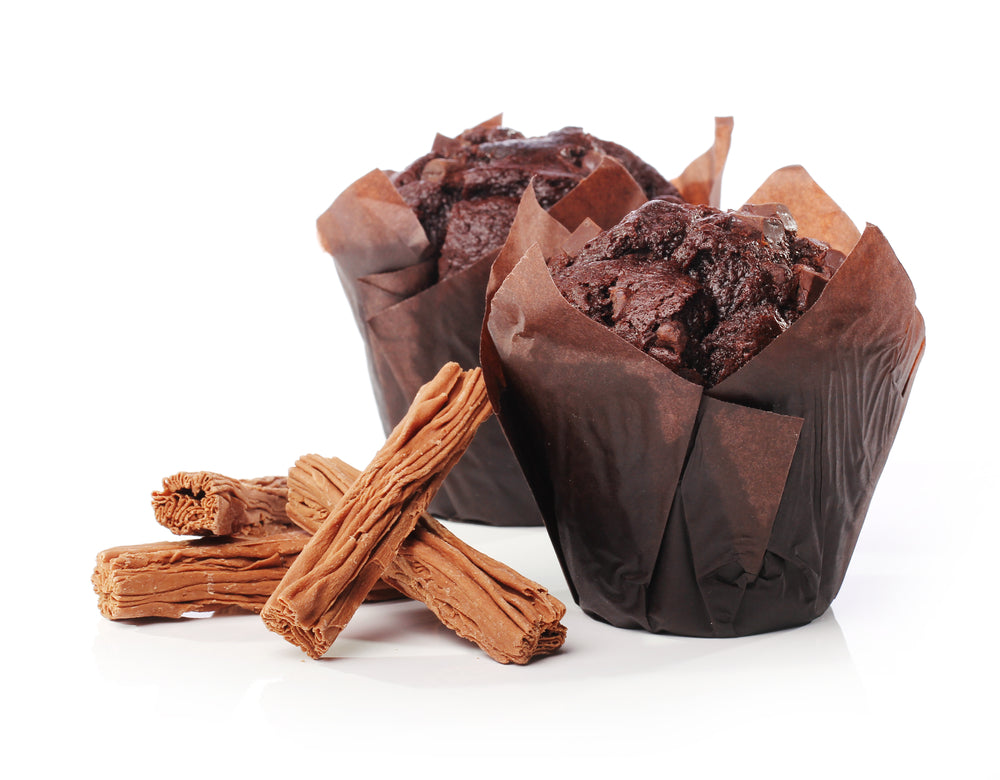
Have you come across a muffin that’s been in one of those brown “wrappers” and wondered what are those “wrappers” called? well – they are called Tulip Baking Cups and we proudly carry a full product line of them. Let me share the detailed breakdown on them: What are the colors they come in? What is the bottom/base size of the baking cup? How tall are these baking cups? What does random vs uniform mean? What do all the numbers mean? Where can I get these in large quantities? Ok, so to start – our Tulip baking cups are...